Garage Enlargement
My garage was built many years ago when cars were a lot smaller and it was only just long enough to accommodate my 412. When the tiled roof had deteriorated enough to need renewing, I decided to go big and to move the front and rear walls out to give me additional length. This would allow me to move round the car without difficulty and, by improving the insulation during the rebuild, I would be able to install dehumidification equipment to help stop my cars deteriorating so quickly. That would, I hope, save work and money in the long run.
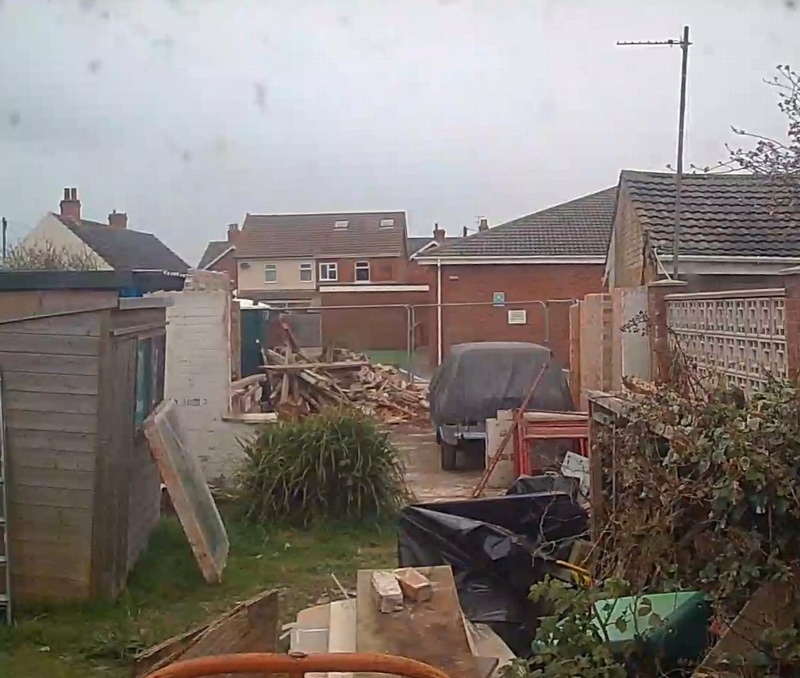
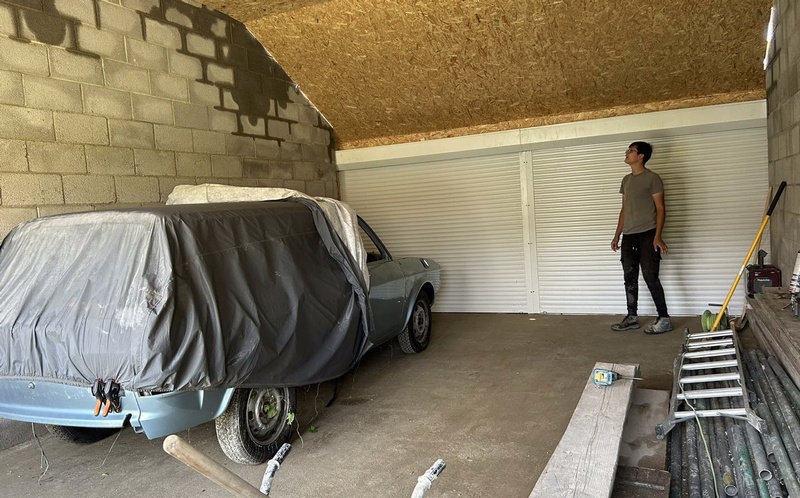
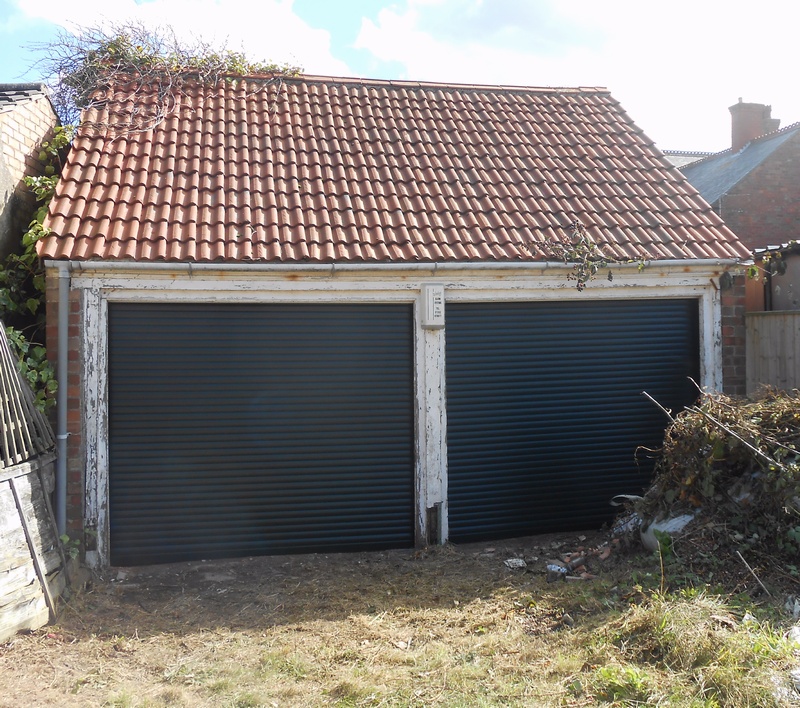 The original garage. As well as the tired roof, the centre post between the doors has rotted badly at the base and the floor is below the level of the adjacent roadway. This means that, whenever it rains heavily or my neighbour leaves his hosepipe running, it floods!
The plan had been to remove the roof, demolish and rebuild the front and back walls further out, and then re-roof. However, the builder suggested that it would be quicker and easier and, therefore, cheaper to demolish it completely and build up from a cleared site. That method would save having to tie new brickwork into old and we would not have to deal with inadequate existing foundations.
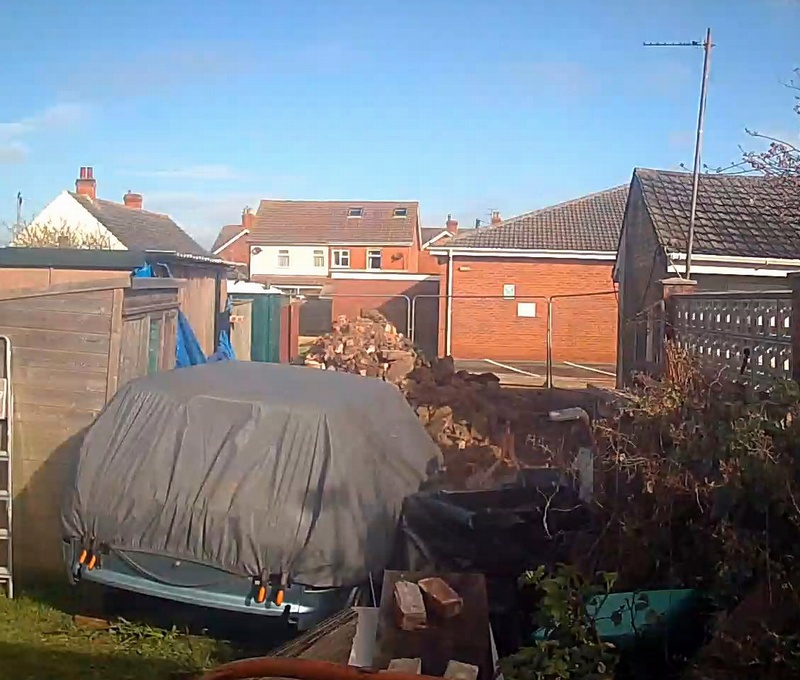
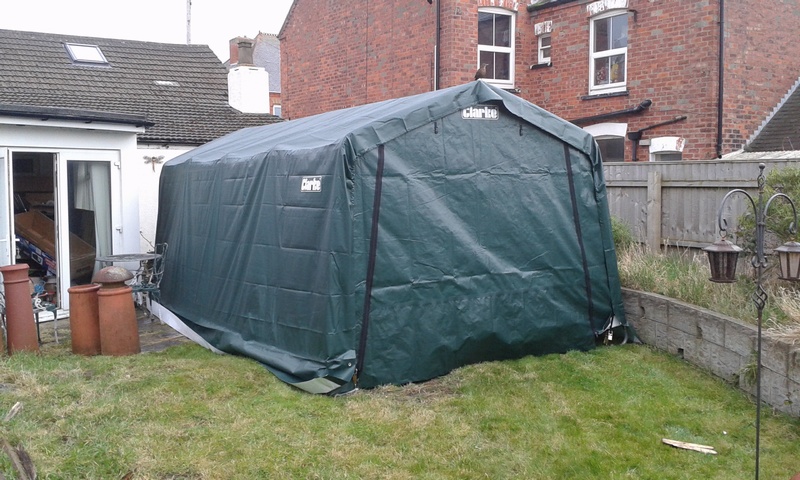 After being let down by my first builder, I eventually got a start date in April 2023 and I set about completing the clearing of the garage. I put up a very large tent in the garden for most of the stuff although my car had to rest in the garden for the duration of the work. On the right here is the view of the back of my garage from the house.
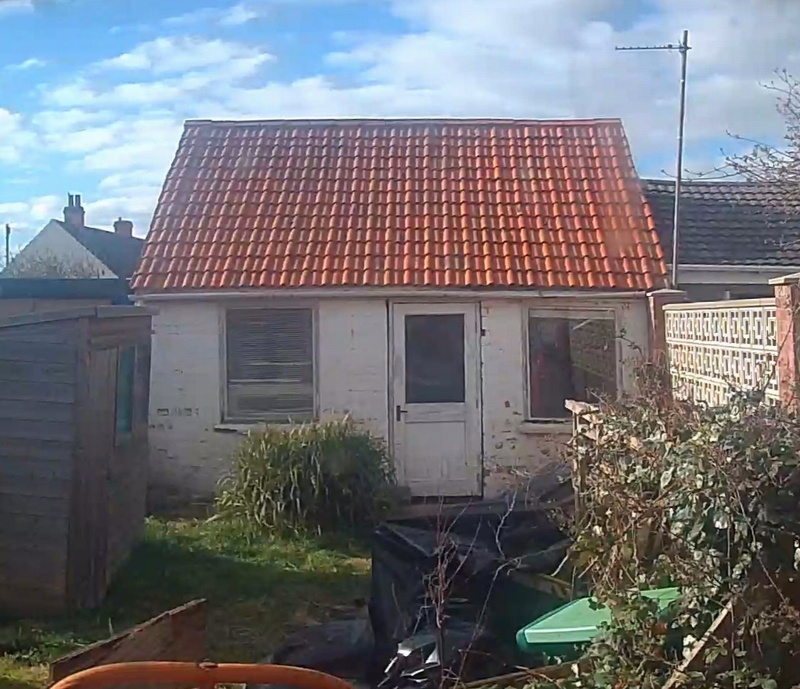
 Work started on 11th April as promised and they set to work stripping the pantiles and stacking them for reuse. My car had been moved out to the car park at the other side of the garage whilst this work was done.
Next the roof timbers were removed as were the two gables. The forecast was for 50mph gusts overnight and we didn’t want to risk leaving them up.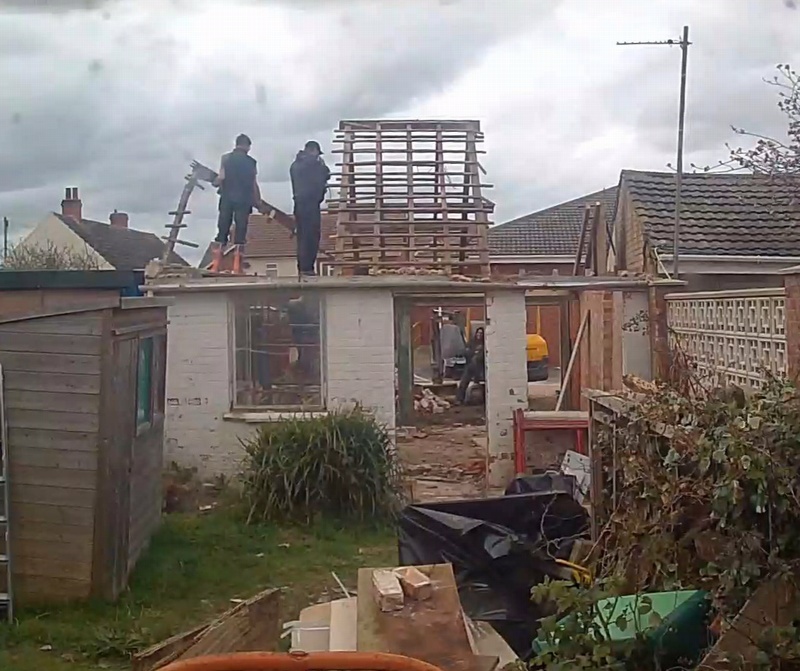
 Followed by the front and back walls. At close of play, my car is back in its usual place for one more night.
When we finished taking down the walls and then dug up the concrete floor the following day, we realised that the earlier decision to clear the site and start afresh was absolutely right. The floor was not so much concrete as brick rubble with a sand/cement mix poured over it. It was no wonder that one corner had subsided by around three inches!
 My car is now in the garden where it will remain during the works, out of harm’s way.
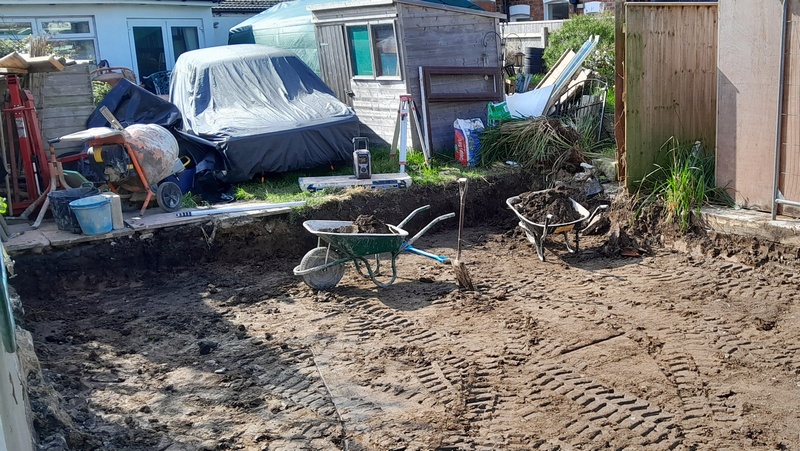 Further excavation revealed more horrors. We found four old soakaways under the floor which had softened the ground and had weakened the floor and which had to be dug out. Then we could start to backfill with fresh stone.
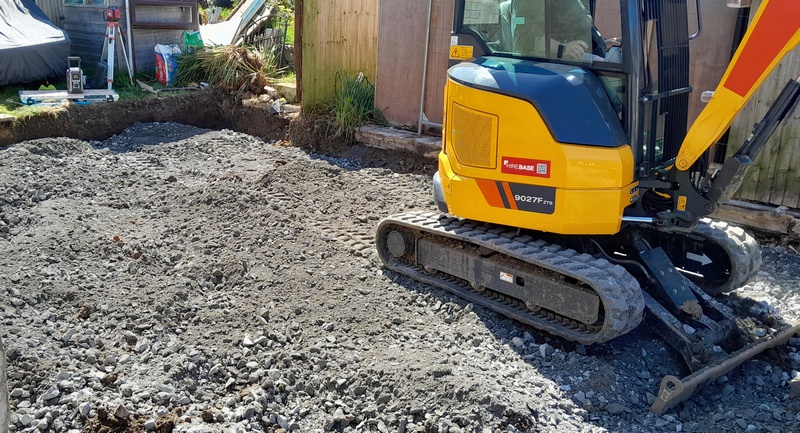
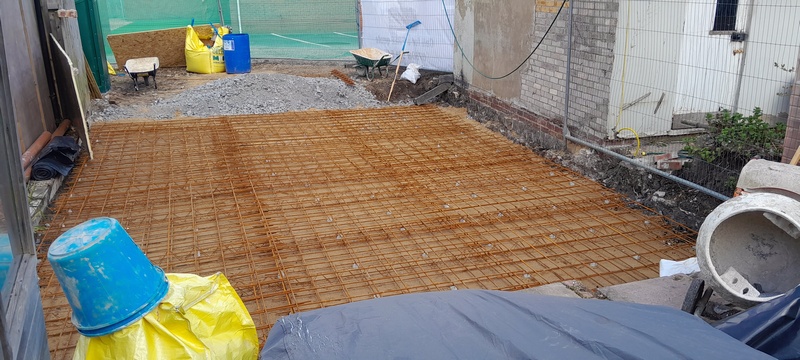 The first slab needed to cope with clay of unpredictable quality so needed a lot of steel to reinforce the concrete. It is nearly complete on the left and concrete is being poured on the right.
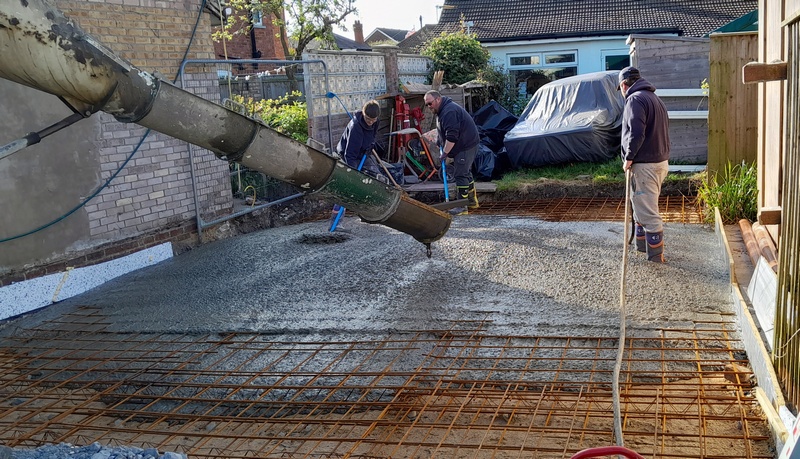
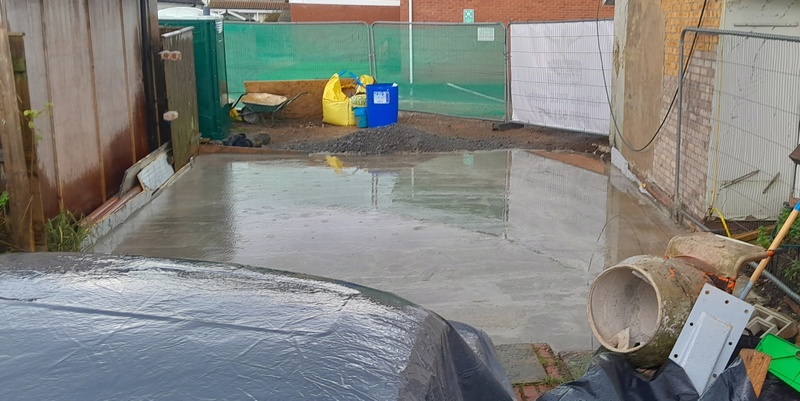 Of course ... it rained that evening! Fortunately the concrete had had long enough to achieve its initial set so the rain actually helped.
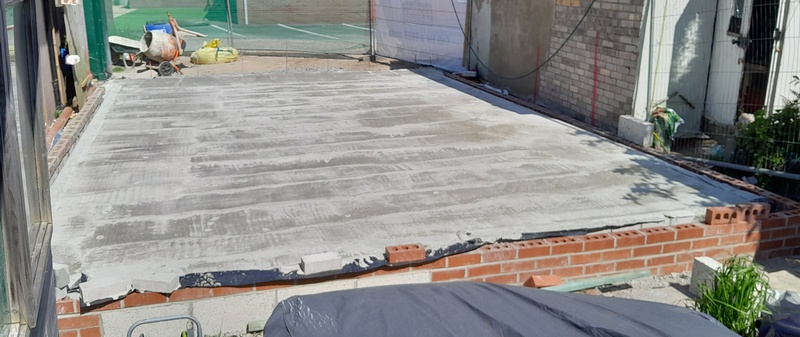
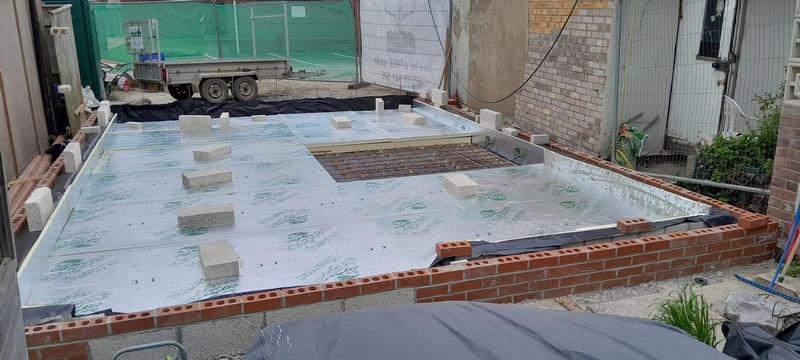 Then progress gathered pace. Four courses of brickwork were built around the perimeter of the slab and the under-floor insulation placed. The area of rebar in the middle of the picture is for a deeper structural slab under my lift.
 This was then followed by the second concrete pour.
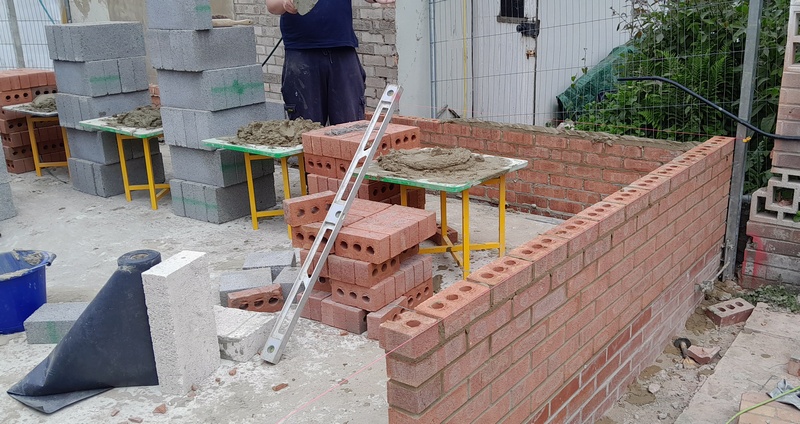 Then the brickwork started going up. We had bricks on the outer skin and thermal concrete blocks on the inner skin. The picture on the right below shows the steel lintels for the doors and window in the back wall.
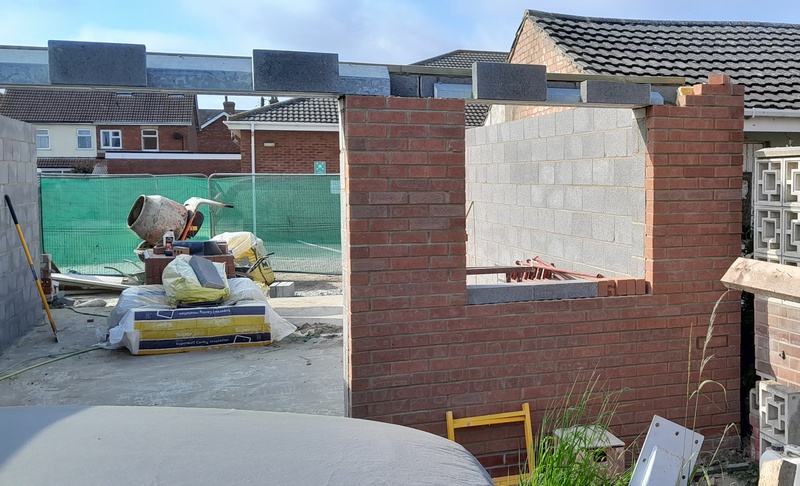
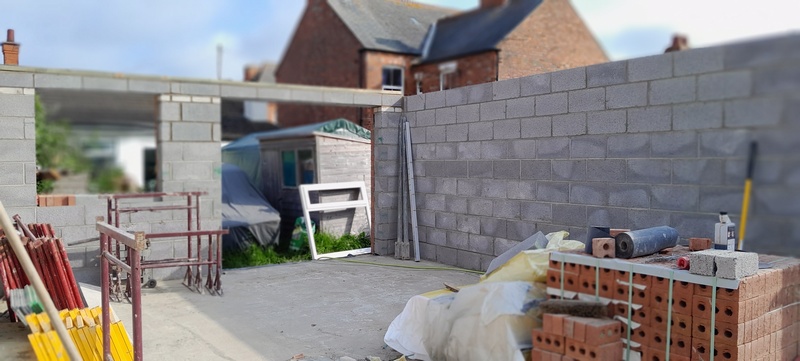 ... and with the top row of blockwork along the inside.
 The gables were then built up before we had to pause awaiting the steelwork.
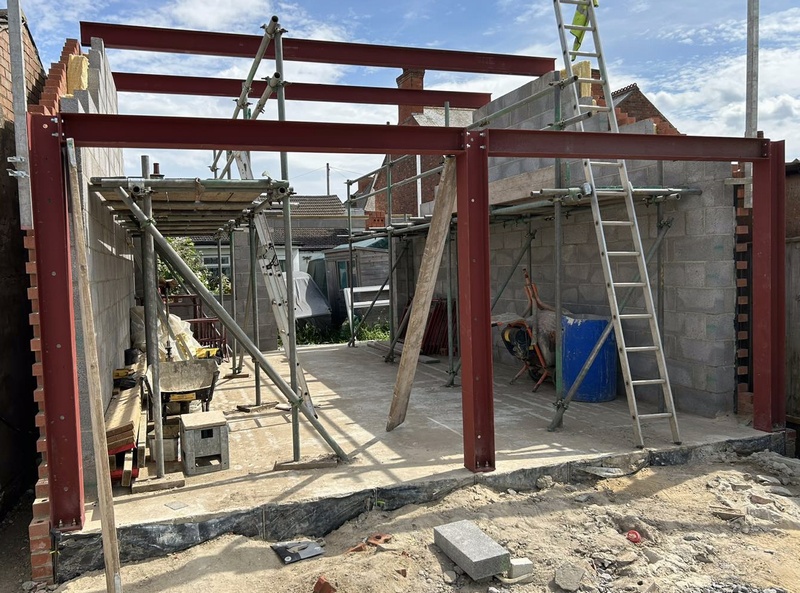 The main door frames are formed with a steel portal frame. The old wooden door frame would not have survived an accidental collision but this will. There are also a couple of steel purlins to take the load of the roof trusses. These can now be built in as the gables are built up to their full height.
The roof trusses are on and the portal frame has been clad inside and out. The back window has also been installed.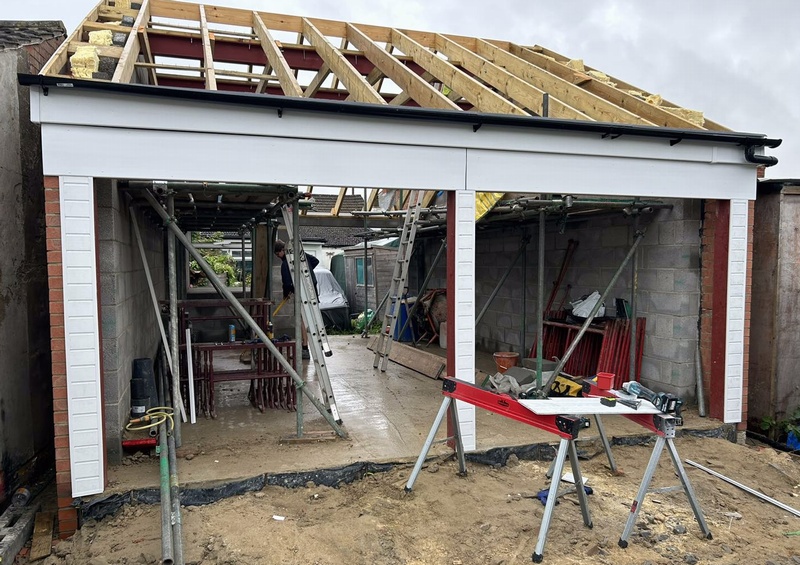
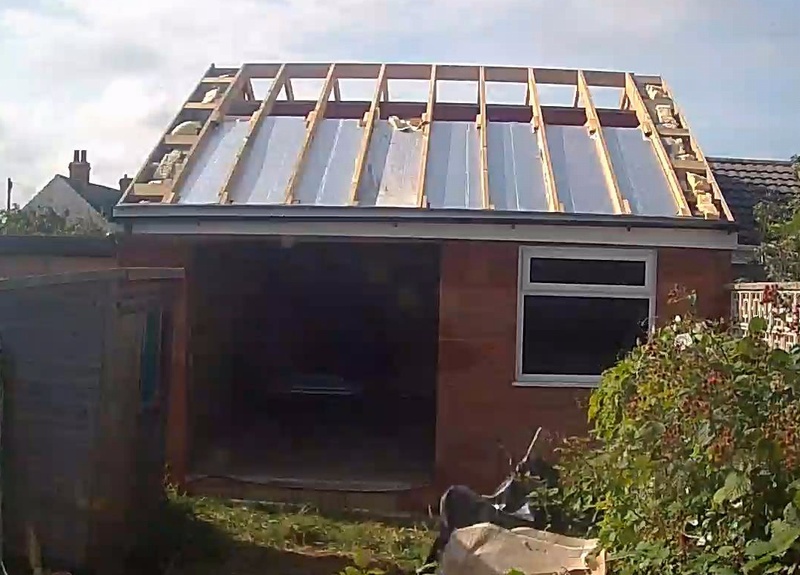
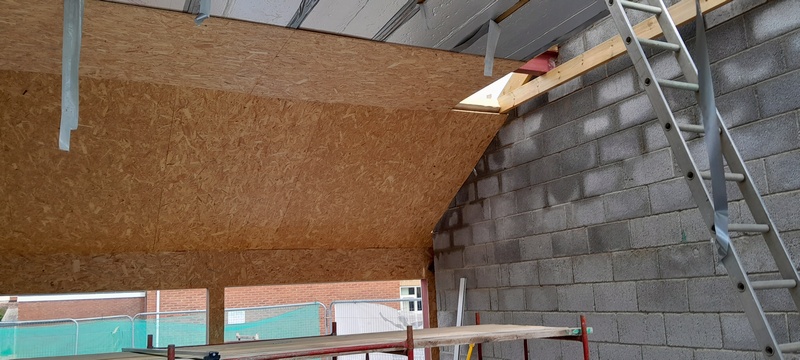 Once the trusses were in place, the roof could be started. The ceiling was formed out of OSB, which is strong and cheap. There is a thick layer of insulation on top of that as can be seen here. Of course it rained again but neither the OSB nor the insulation would be harmed by a couple of showers.
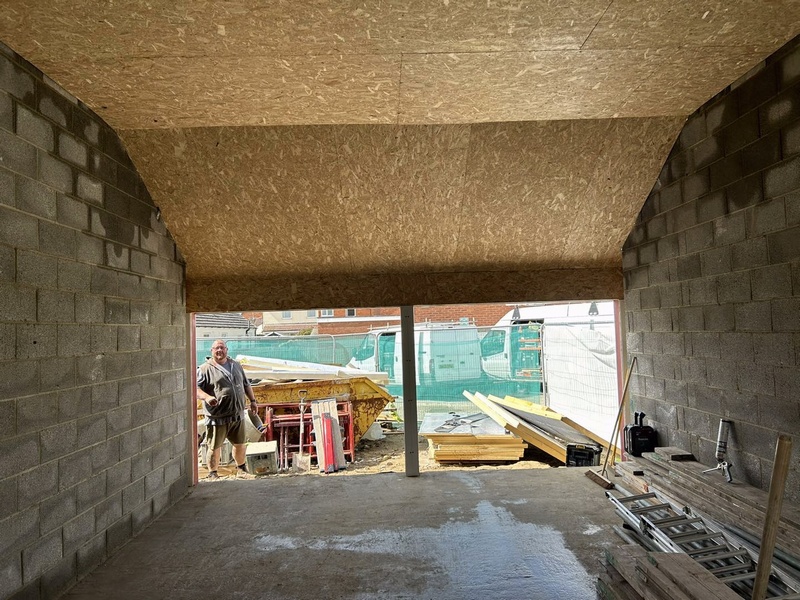
 Having made the building water-tight (almost) the doors went back in and we could pull the car back inside the garage. That felt like a significant milestone!
 The next job was to get the scaffolding up and install the felting and the tile battens. The new tiles are all stacked ready for the roofer. The condition of the old tiles wasn’t good enough to reuse and we would have had difficulty in matching with reclaimed pantiles to make up to the larger roof area, so we got new.
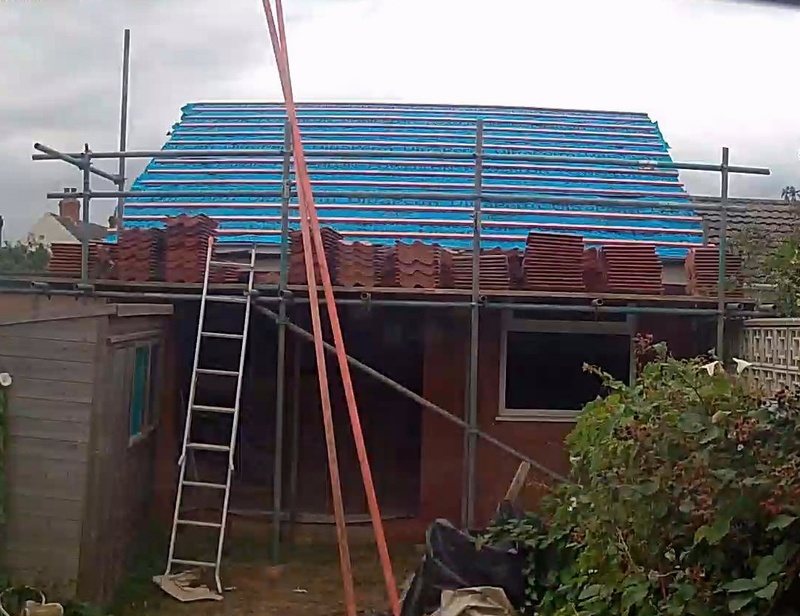
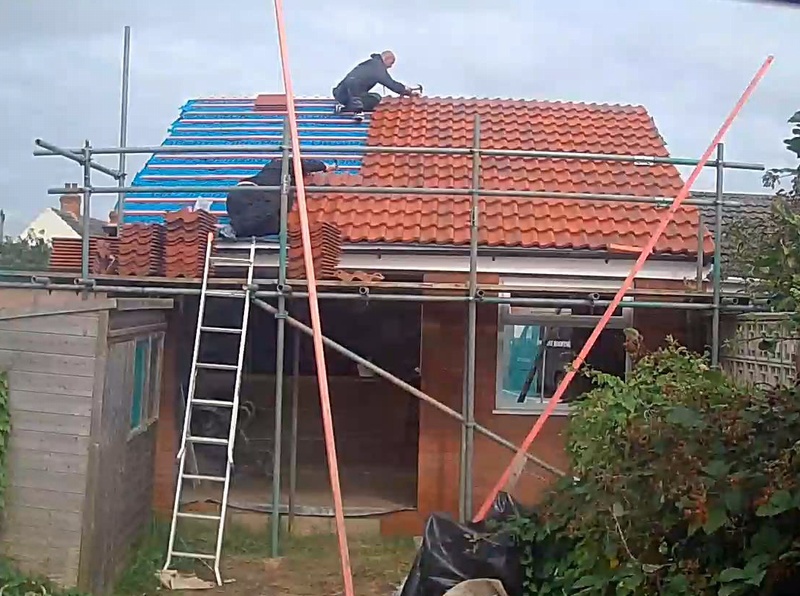 The two roofers arrived and got on with the job which was completed in a day. We had to wait a while for the scaffolders to come and take it all away again so the slabs could be laid at the back of the building.
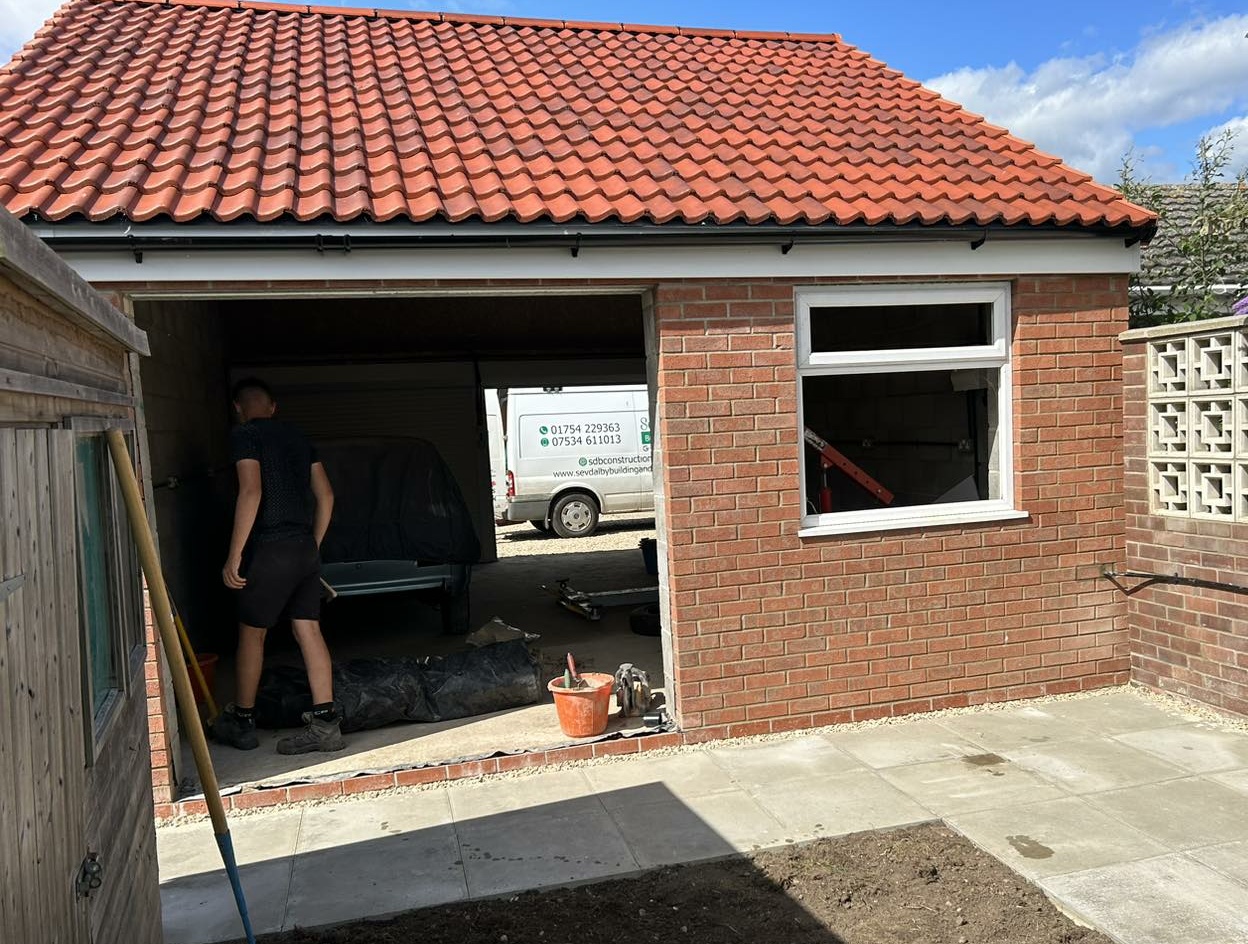
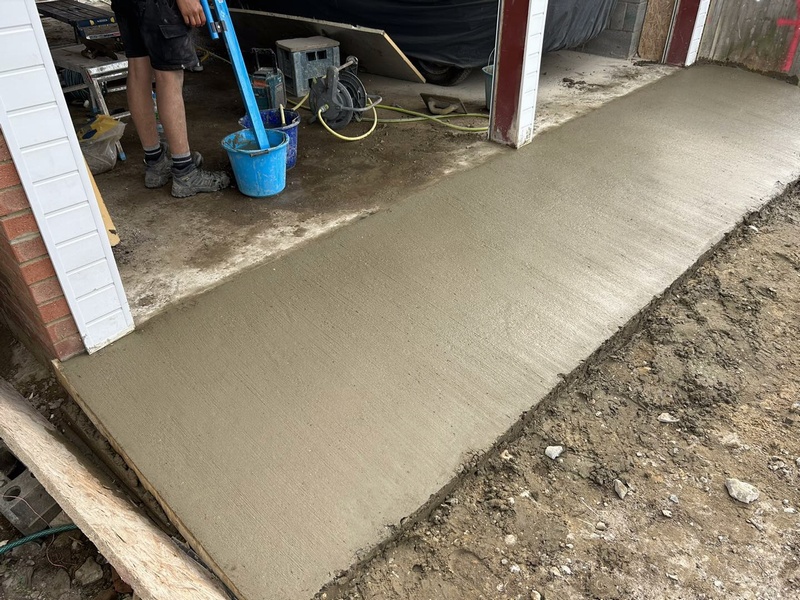 The next job was to construct a ramp at the front which was followed by several tonnes of gravel to bring the levels up to scratch.
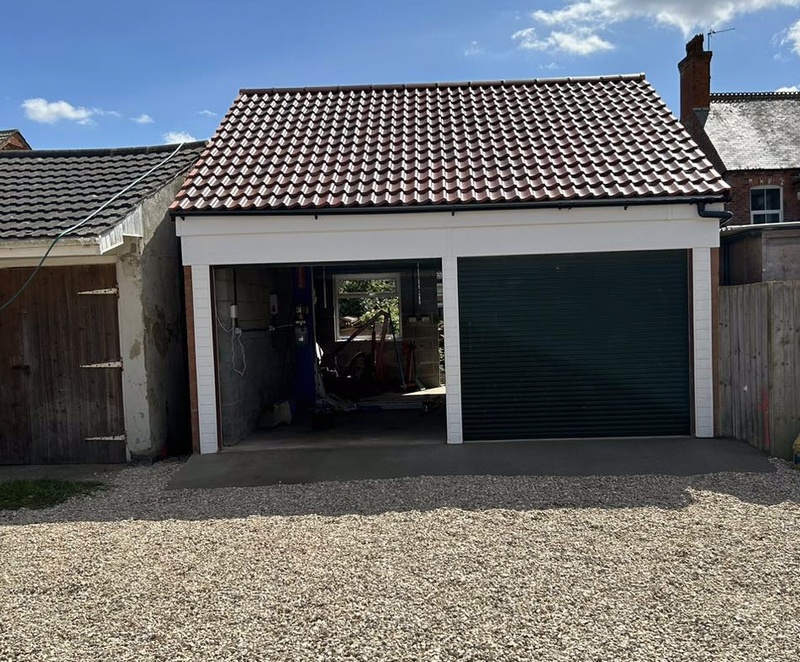
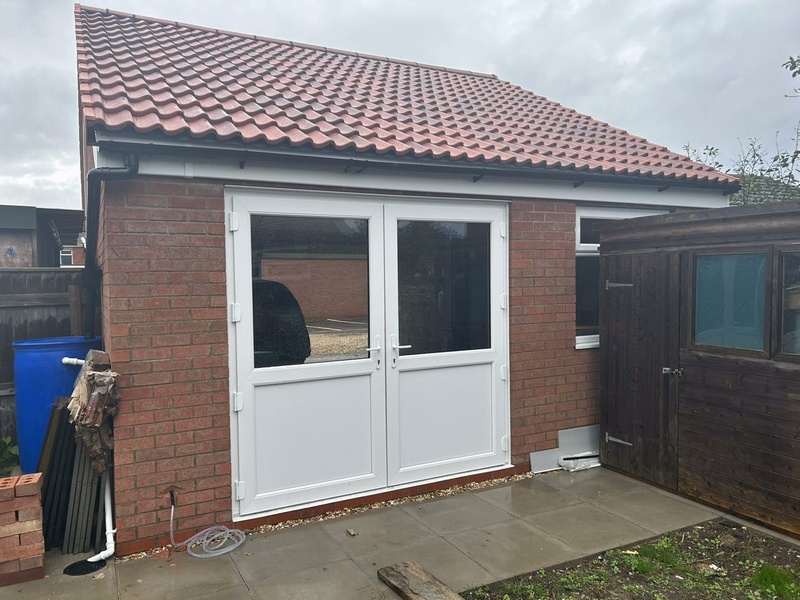 We were then able to move my shed back into position on its new slab and the building was finally completed with the new doors. I wanted a 2 metre clear opening so that I had the option of moving a car into the garden if I needed the space inside the garage. The local double glazing firms were not willing to help since they were wider than standard, so they were made by a specialist who was happy to fulfil my needs.
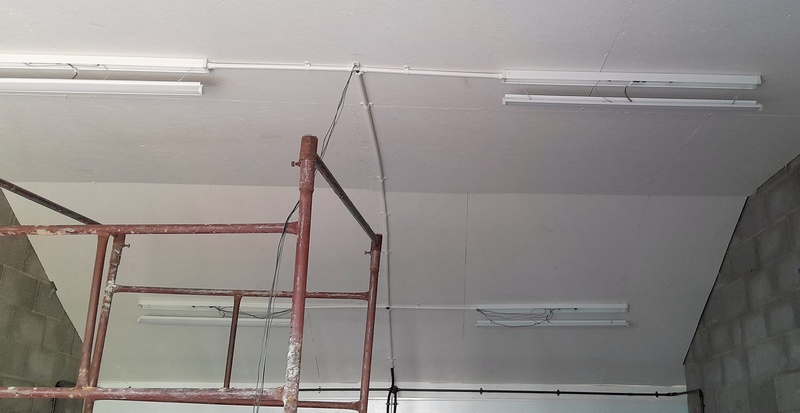 I installed new LED lighting. I was able to borrow a tower scaffold and installed a total of ten lamps.
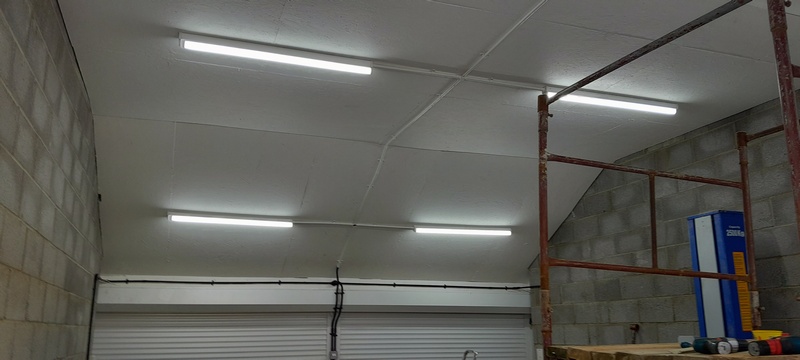
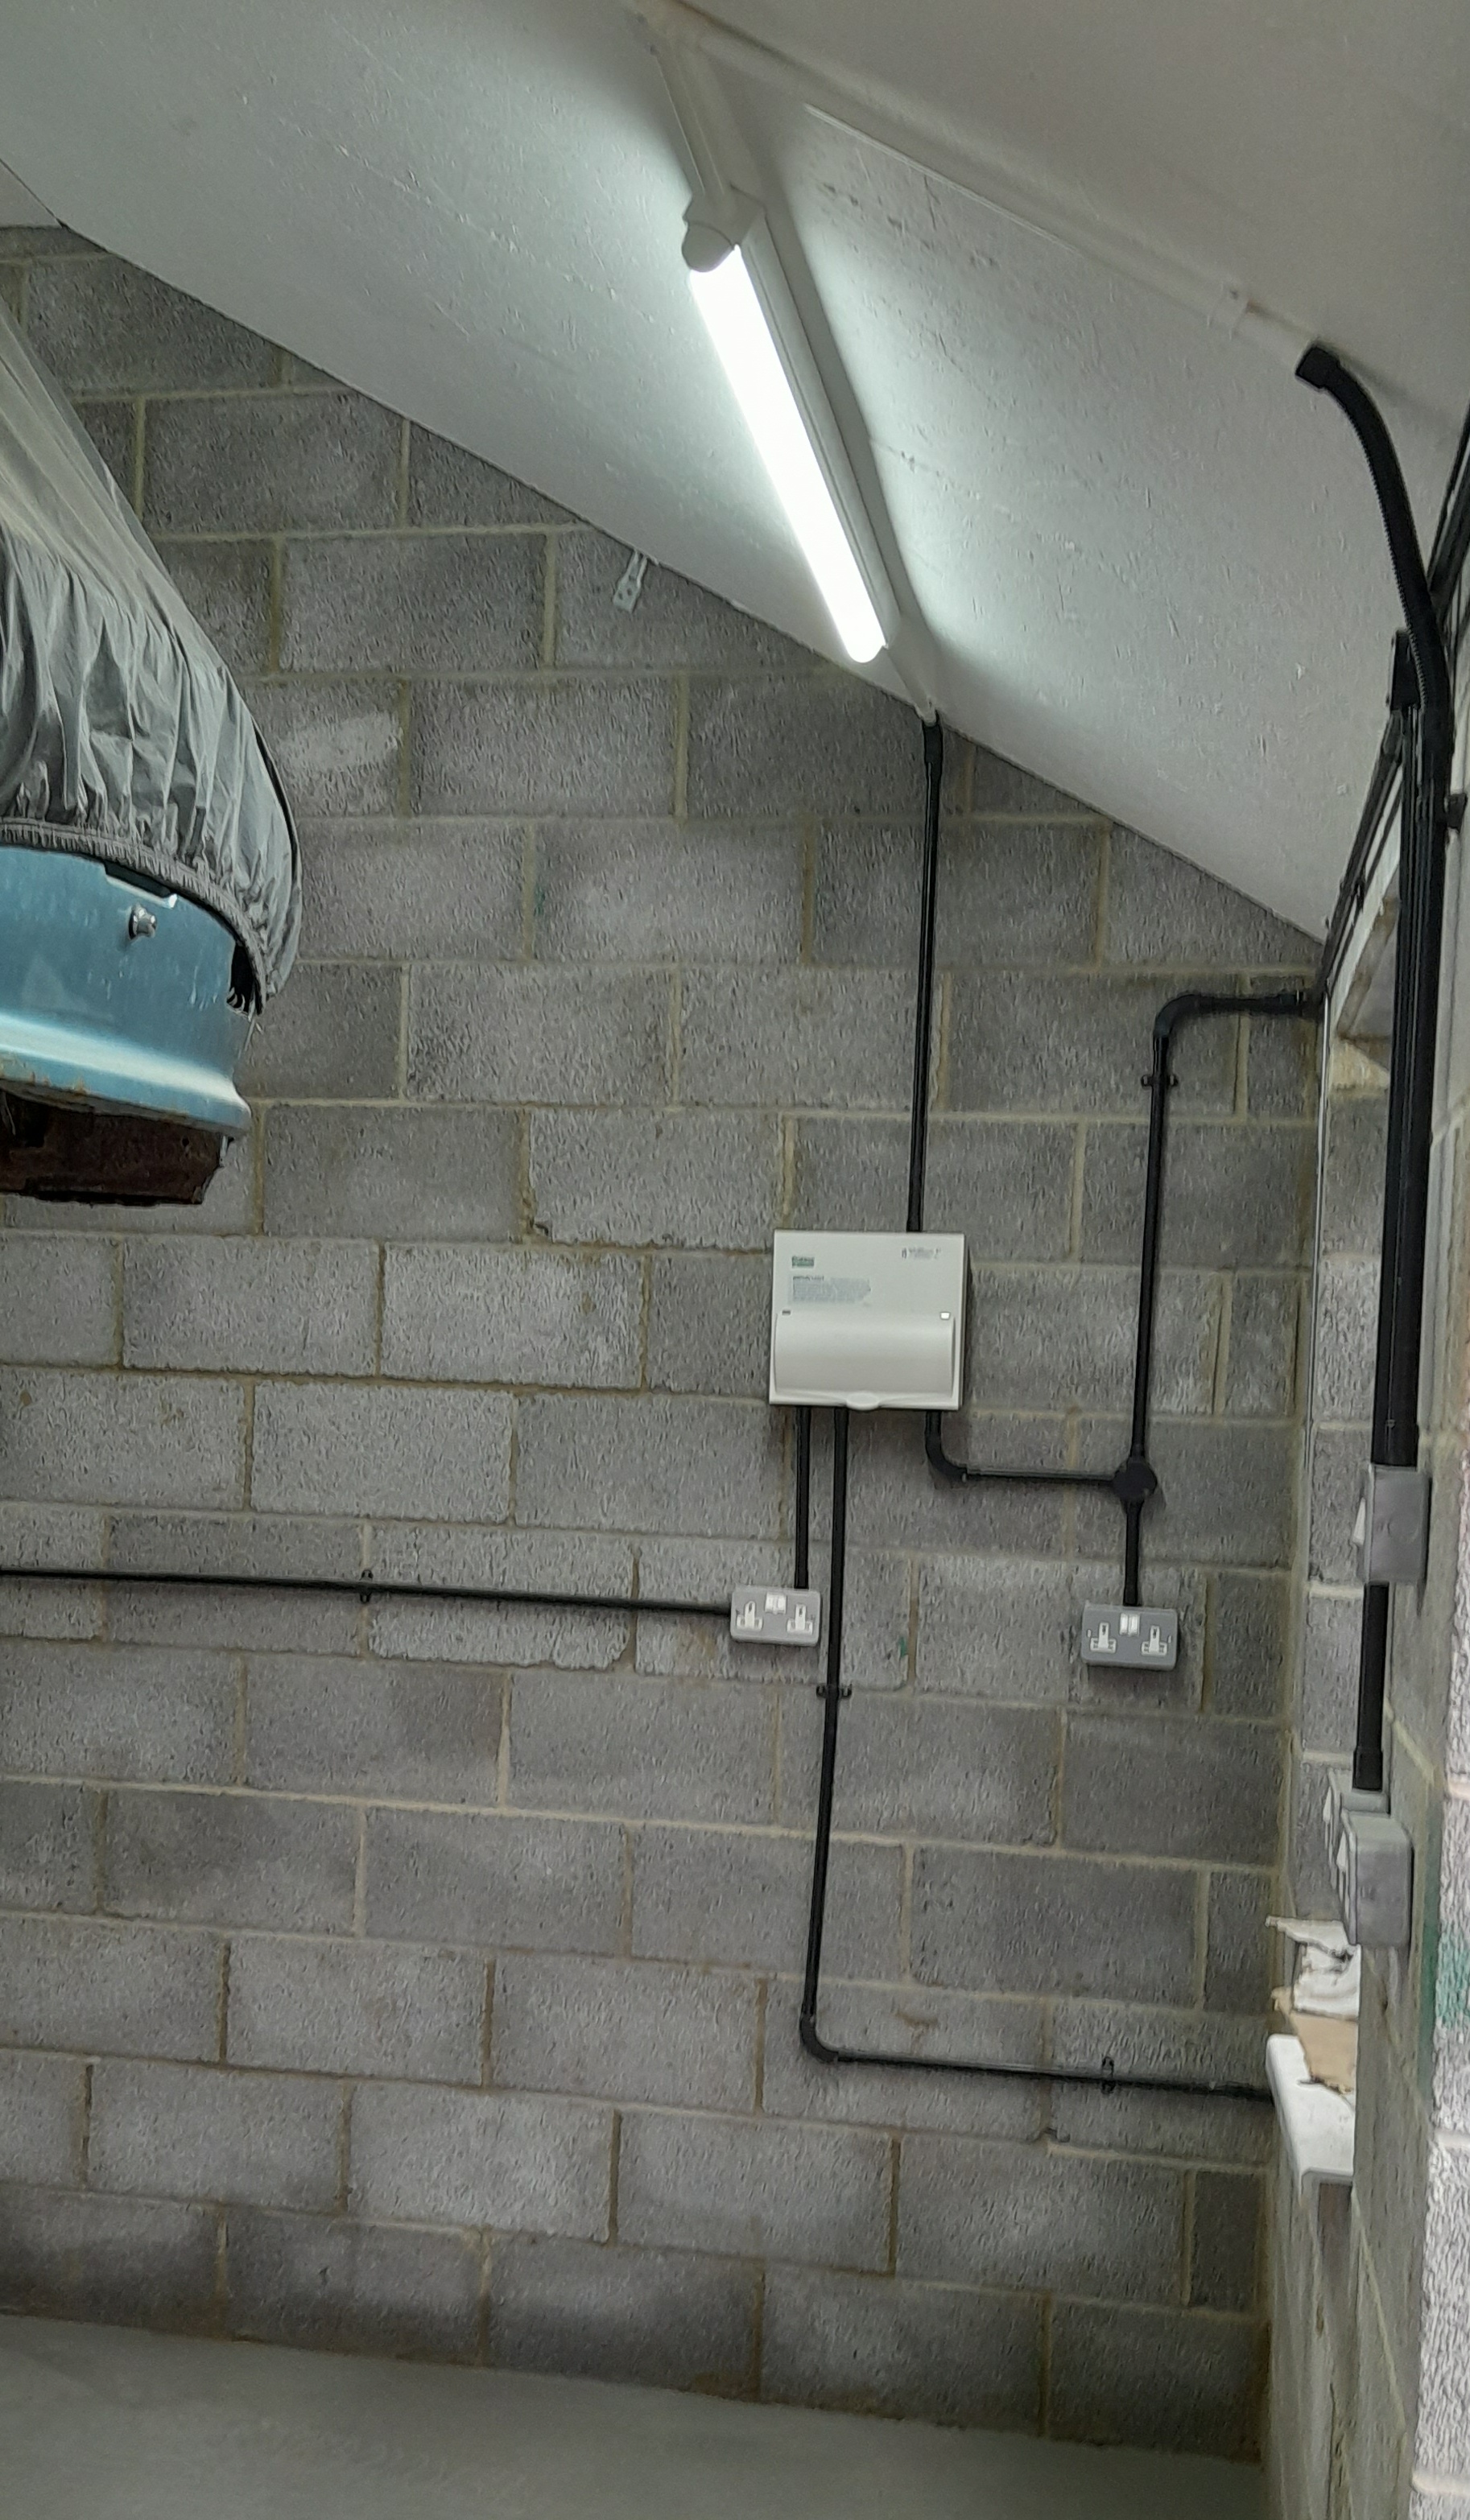 The consumer unit in the back corner. The car is on the lift whilst work was completed on the floor.
Getting the workshop facilities organised.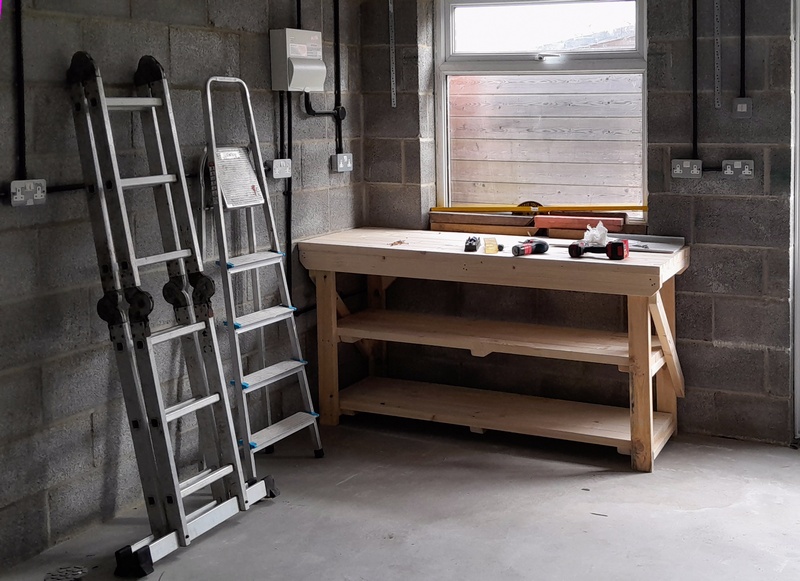
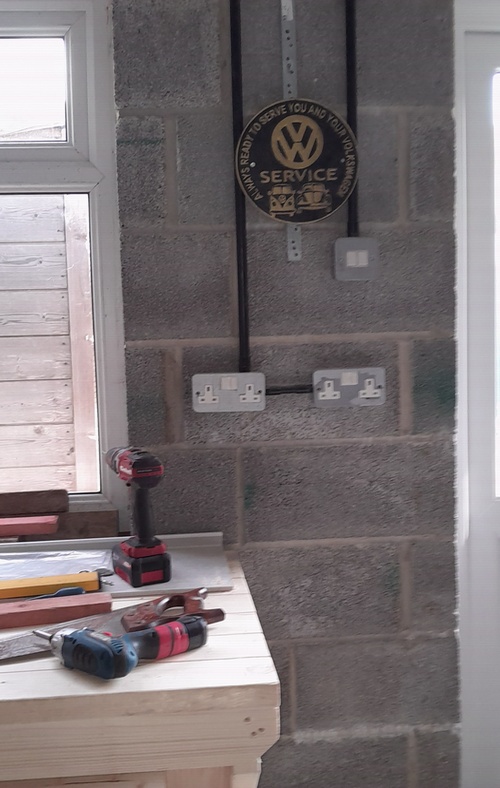 Nailing my colours to the wall.
This page updated August 2025 © J S Rastall
Return to cars index