This page shows some of the stages of the construction of the trackbed in the garden.
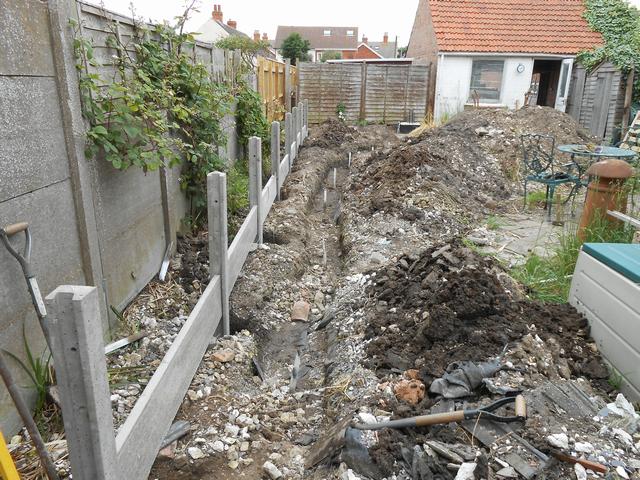
I decided to build a free-standing raised flowerbed for the railway to keep it independent of the boundary fence. The first job was to mark out the back wall (for which I used concrete fence panels) and the footings for the main front wall. This picture shows the fence posts set using the first run of panels, the white-painted pegs in the trench are to the final level of the footings.
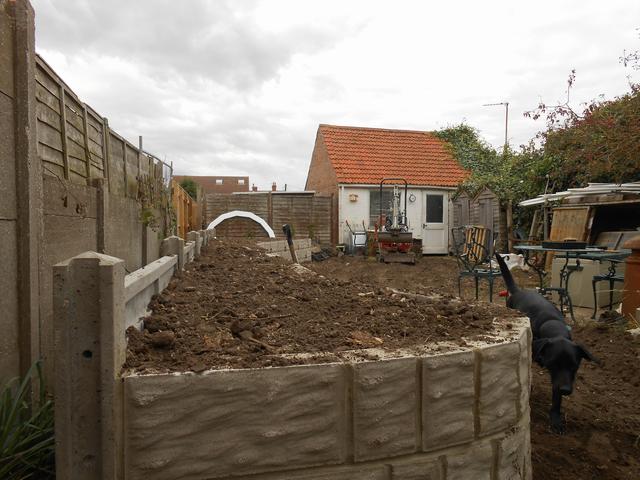
The huge pile of earth that can be seen will be absorbed within the garden.
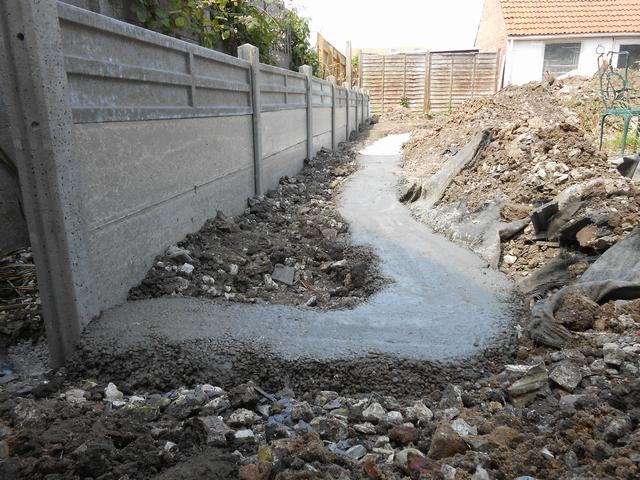
Back fence complete and footing concrete in place.
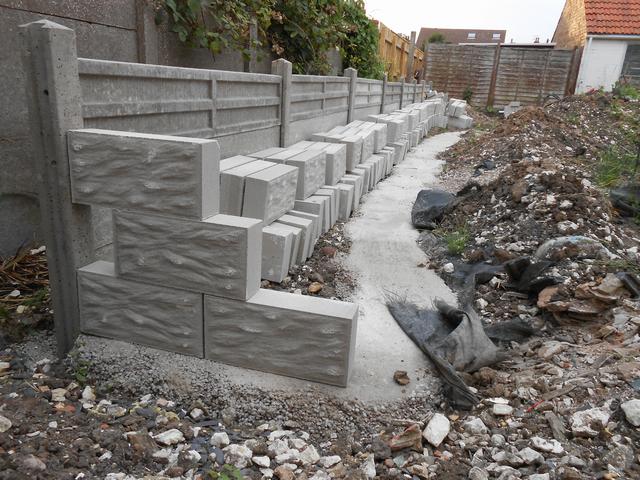
I found a supply of rock-faced concrete blocks that were considerably cheaper than anything else on offer. Here the blocks have been delivered and are stacked in place ready. The three courses set nearest the camera show the eventual height, there will be three mortar beds to add.
After the first day of laying the blockwork. This is a view overlooking the return loop at the far end of the garden.
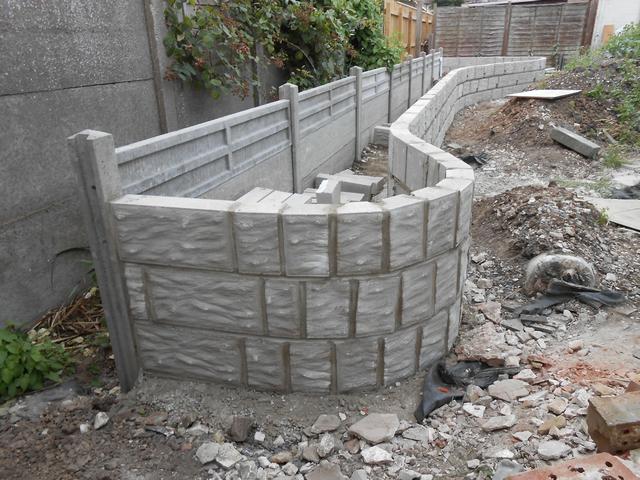
Blockwork completed. Either I over-ordered on blocks or the merchant was generous!
I screwed galvanised steel brackets to the back of the blockwork wall to support the trackbed. Most of the excess concrete blocks have been used to reinforce the bottom part of the wall.
The pile of earth has by now grown a healthy crop of weeds!
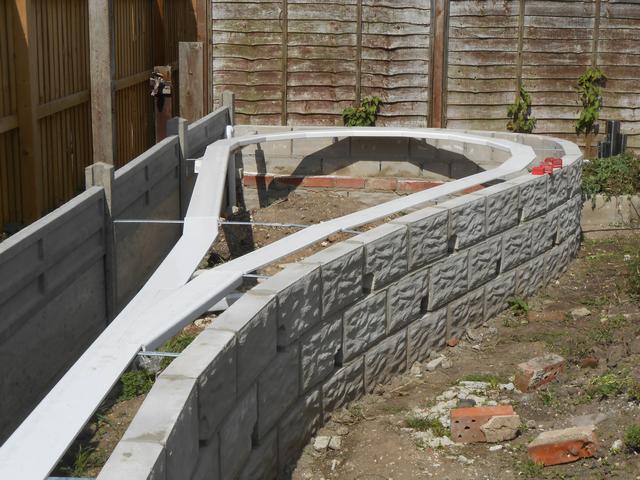
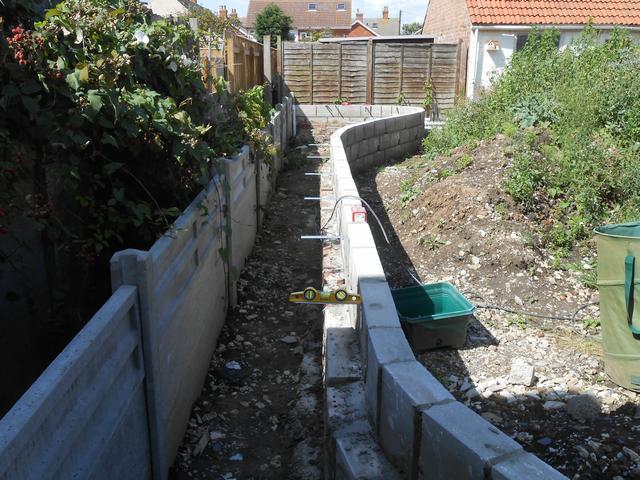
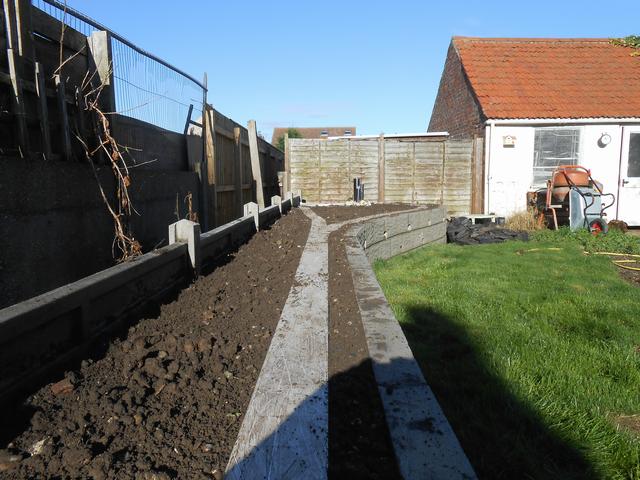
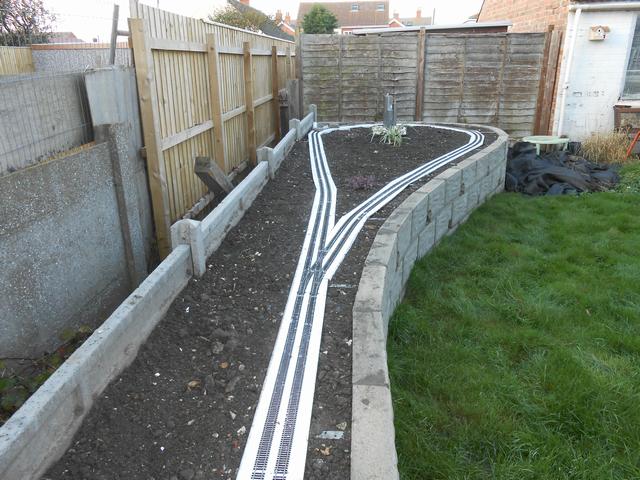
I chose 150mm wide uPVC fascia board for my trackbed. I started the setting out and cutting and fitting with the junction seen in the foreground and then worked away in each direction. Here, the return loop is tried for size. I cut and mitred the trackbed to form a constant radius curve.
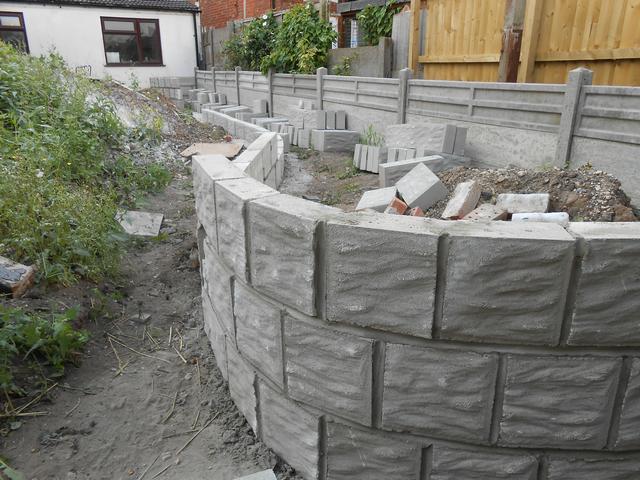
The holes you can see in the blockwork are for planting.
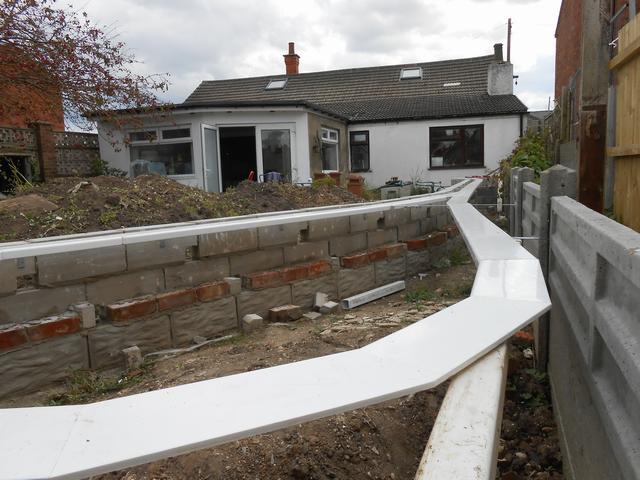
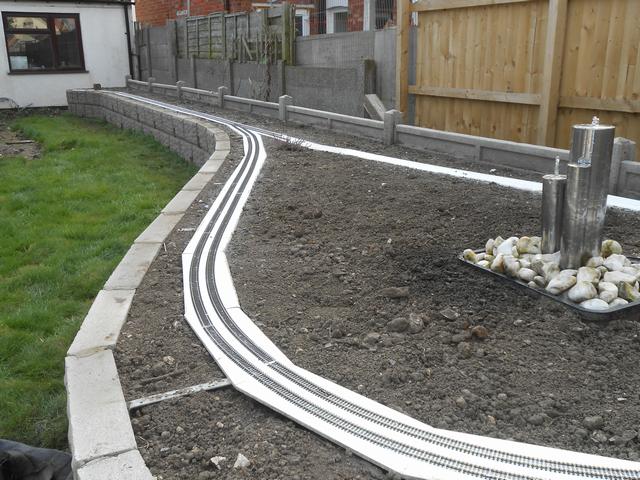
Looking back towards the house, I have set out the whole of the trackbed for size.
I have attacked the weeds!
Backfilled with soil. I told you it would all go!
Then I replaced the trackbed, which was screwed down to each of the steel brackets and across each joint.
A local friend was having a conservatory built so had some turf he wanted to dispose of ... and he thought of me!
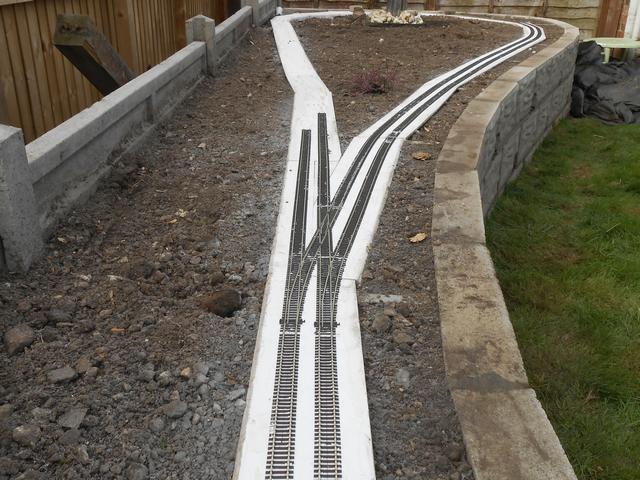
I had to thoroughly clean the top surface of the trackbed to remove the general grunge and to give it a slightly roughened surface. Then I marked out the centreline of the track, starting with the double junction as this would set the alignment of the main lines and the branch lines. I set out the curves with transitions to help with the appearance and to promote smooth running.
Physical tracklaying also started with the double junction for the same reason. As can be seen, the angle of the trackbed for the branch was chosen to match the geometry of the turnouts. Because the rail temperature was quite low, I left a 1mm expansion gap at every joint.
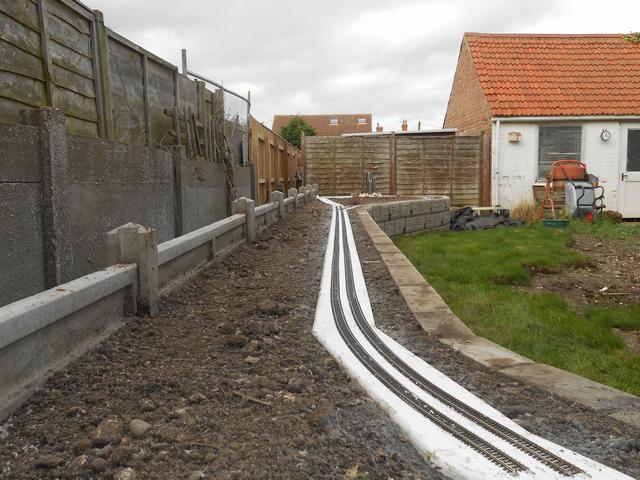
I then laid the tracks towards the house, which was a nice and easy straight run for most of the way.
The loop tracks were next and I started with the branch as this was easier to reach.
I have incorporated a water feature – every garden should have a water feature, it’s Charlie Dimmock’s legacy!
I had to wait for a fine dry day to complete the tracklaying. The weather was cold so I needed to use a hot air gun to dry the trackbed off and to soften the mastic whilst I wiggled the track into position. I cut in the final closure rails on the loop and I’ve left some weights on it to keep it in the right place whilst the mastic sets.
Ballasting will follow in due course.
There are now two plants in the ground in the loop.
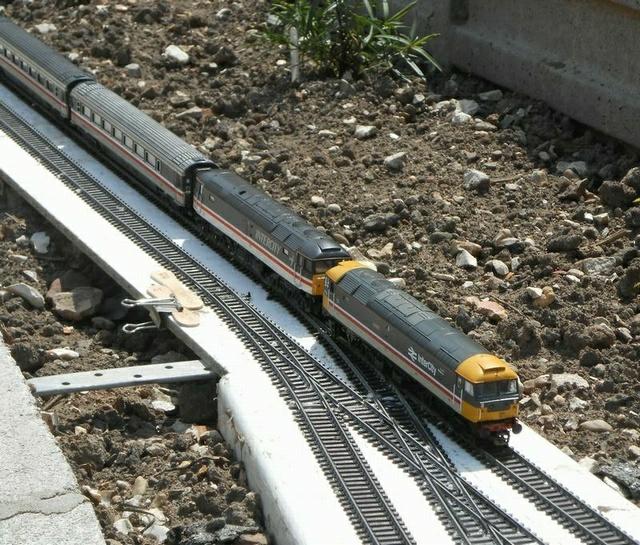
And finally ... we get to run trains!
A group of friends came over in July and one brought something to run – double heading with seven MkIII coaches on.
The lollipop sticks are there to hold the switch in place – the over-centre spring had rusted out over the winter.